
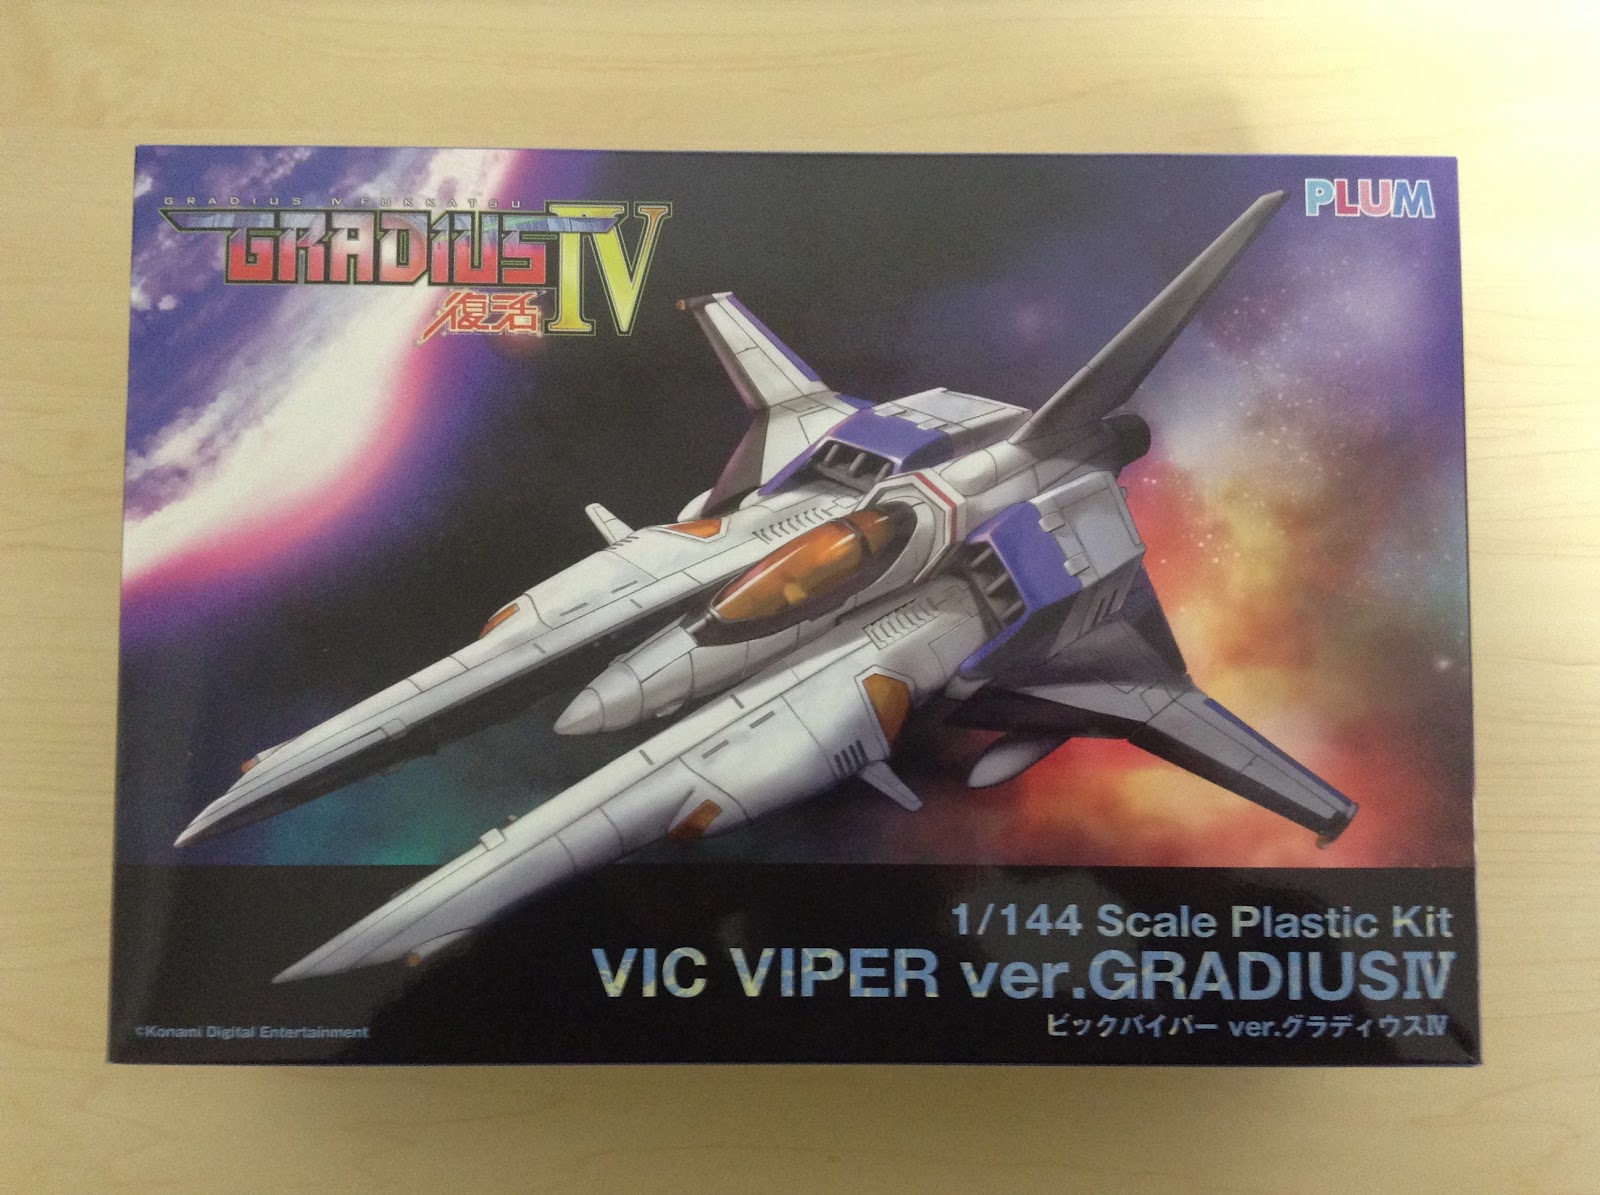
What’s a man-child to do on a cold Sunday when his wife, in a bout of coronavirus paranoia, won’t let you travel far and wide to the used game shops? It’s time to build that new model kit that arrived last week! Let’s see how it fares.

Now, i’m no model builder! The extent of my experience is with a Real Grade Aile Strike Gundam, a Master Grade Exia Gundam and somewhat recently an X-Wing kit. In all cases I just snapped 'em together and applied decals/stickers and called it a day. I did think about weathering that X-Wing but I guess laziness and impatience got the better of me. After all, this is what I had to work with before today:
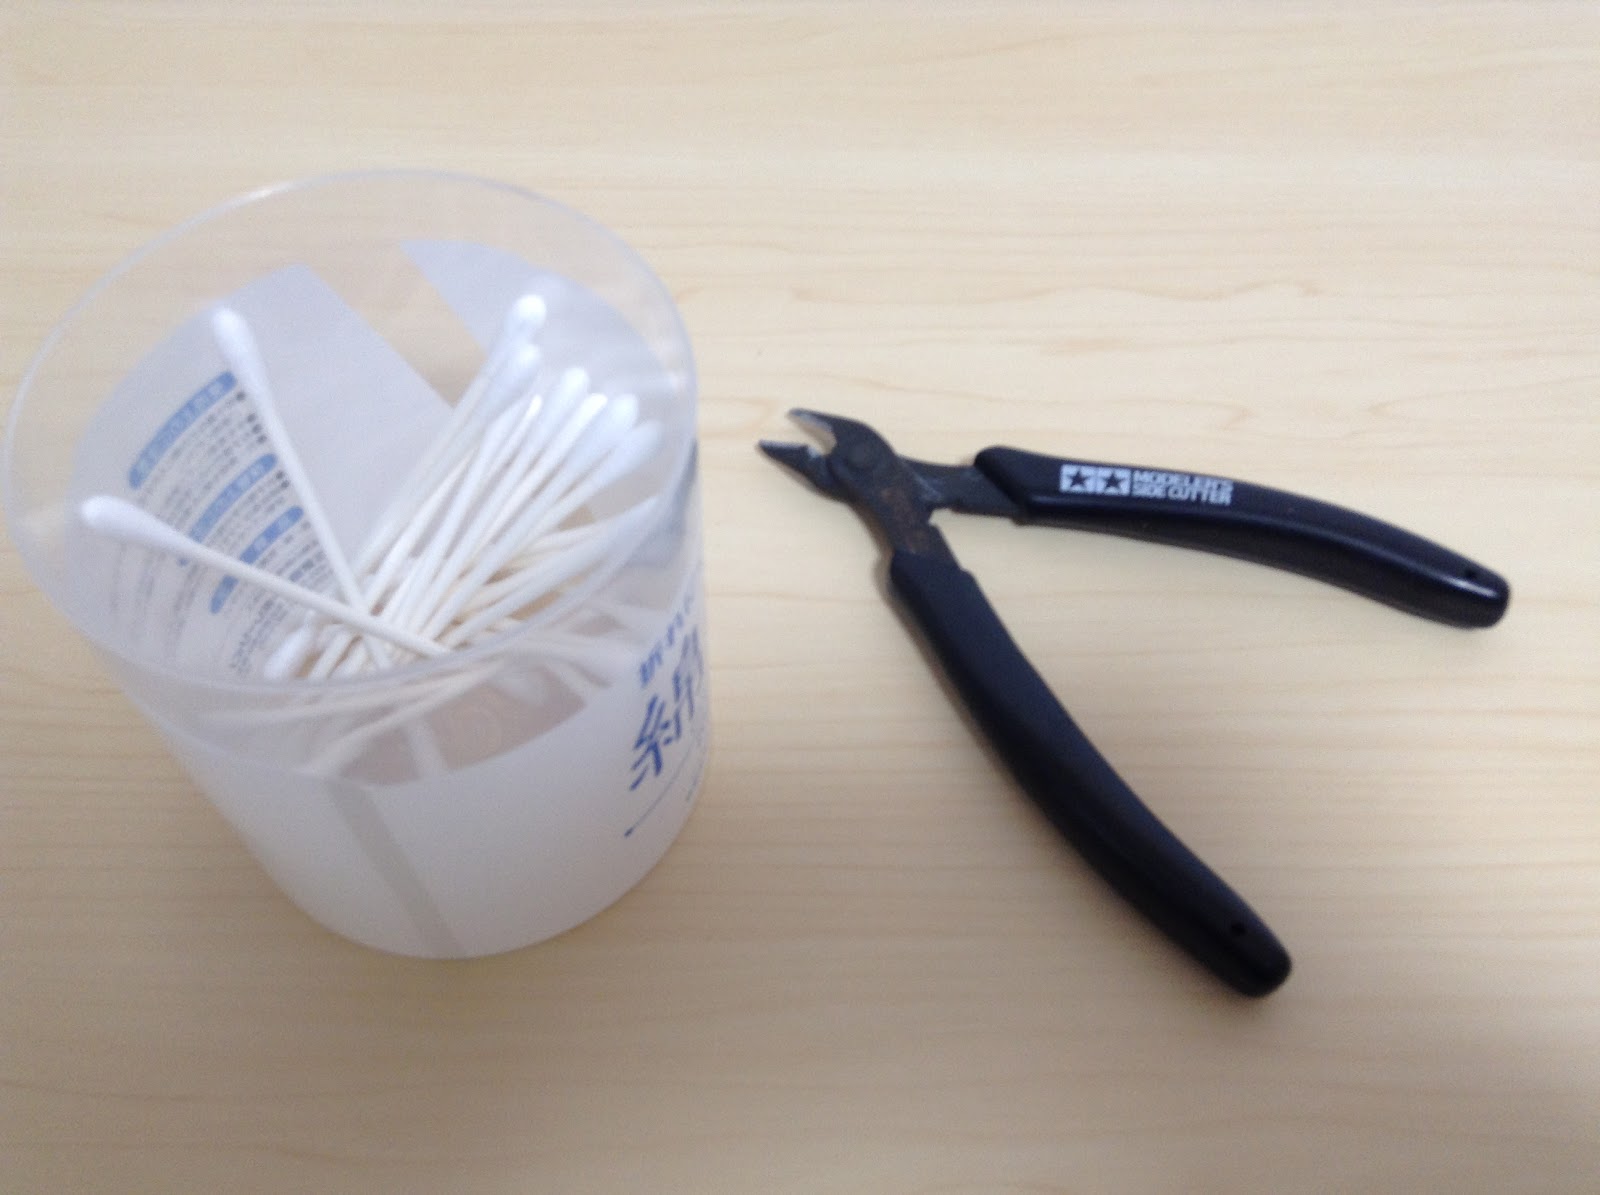
But for Vic Viper, I wanted to do it “properly” for some reason. Maybe 'cause I just love this design, but for whatever reason, I convinced the wife to brave the shops for 5 minutes to pick up some supplies. One of the great things about Japan is that this stuff is everywhere, and it’s cheap! Most of these things only cost about a dollar or two. In Australia, just finding them would require going to one of the few hobby shops around, and then paying through the nose. That would have also been part of my reluctance to go this route in the past!
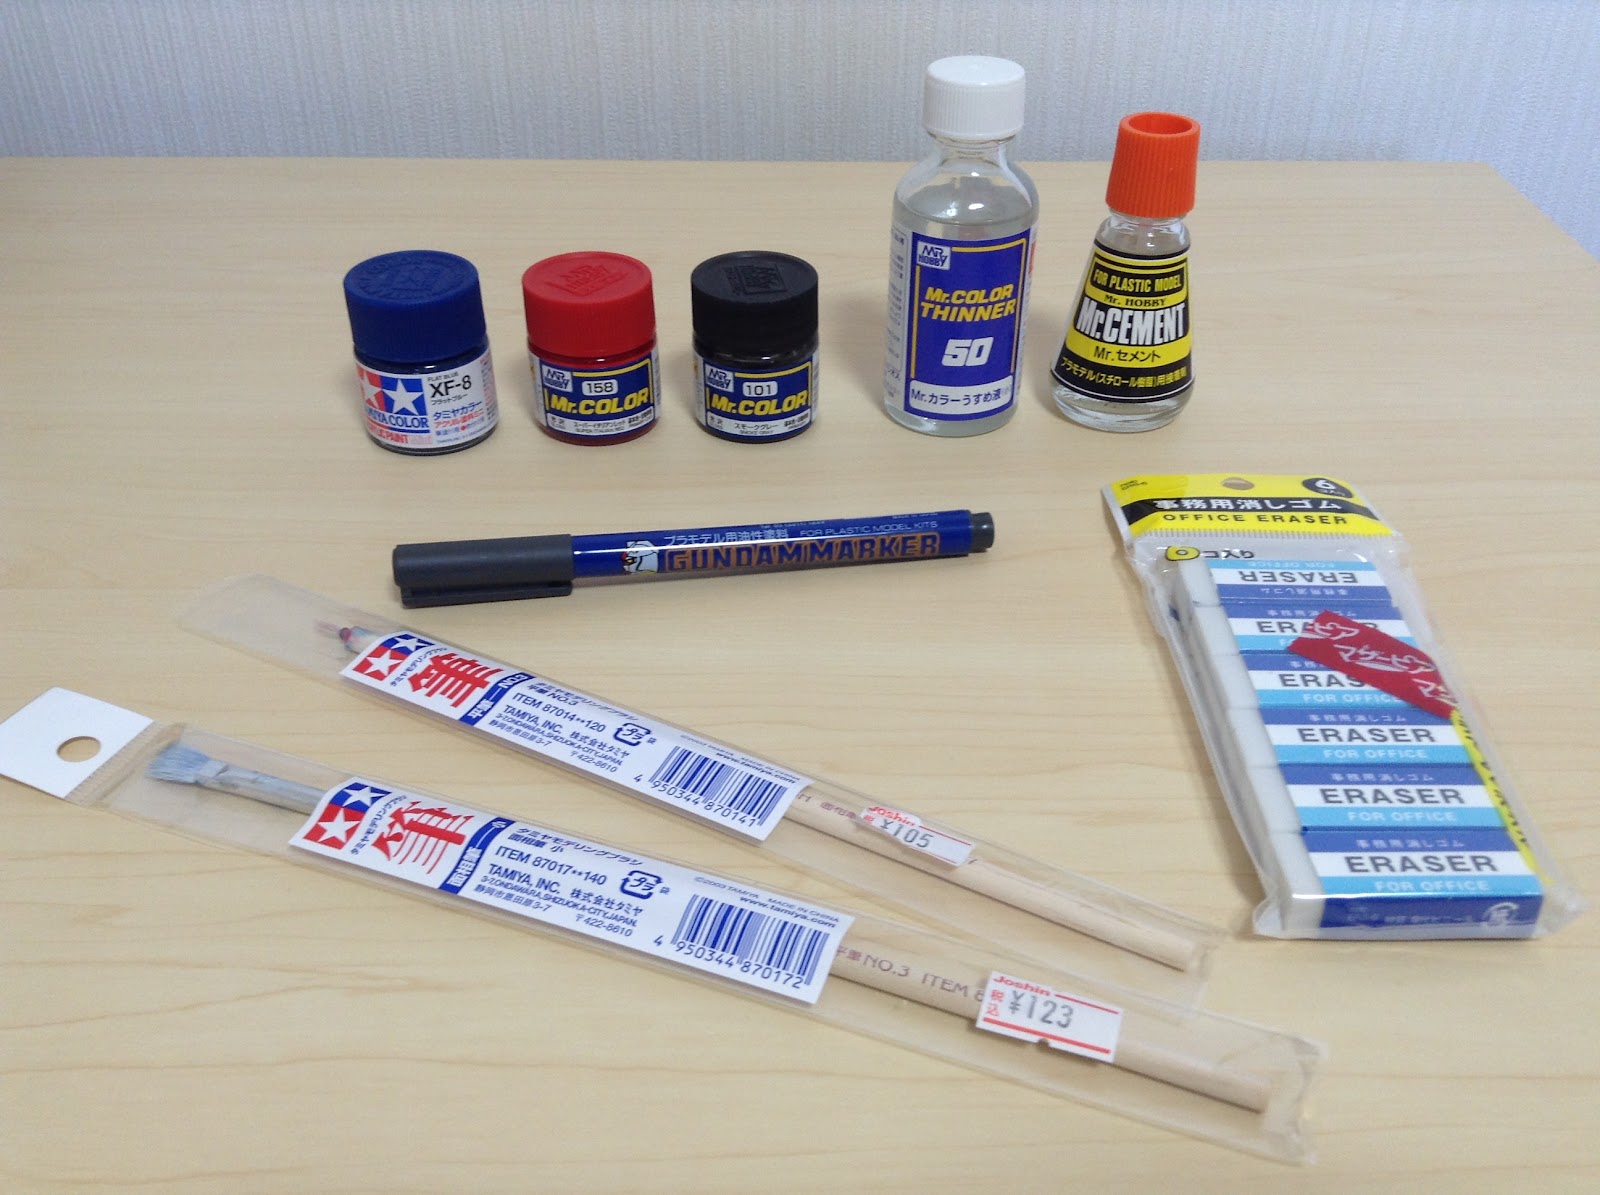
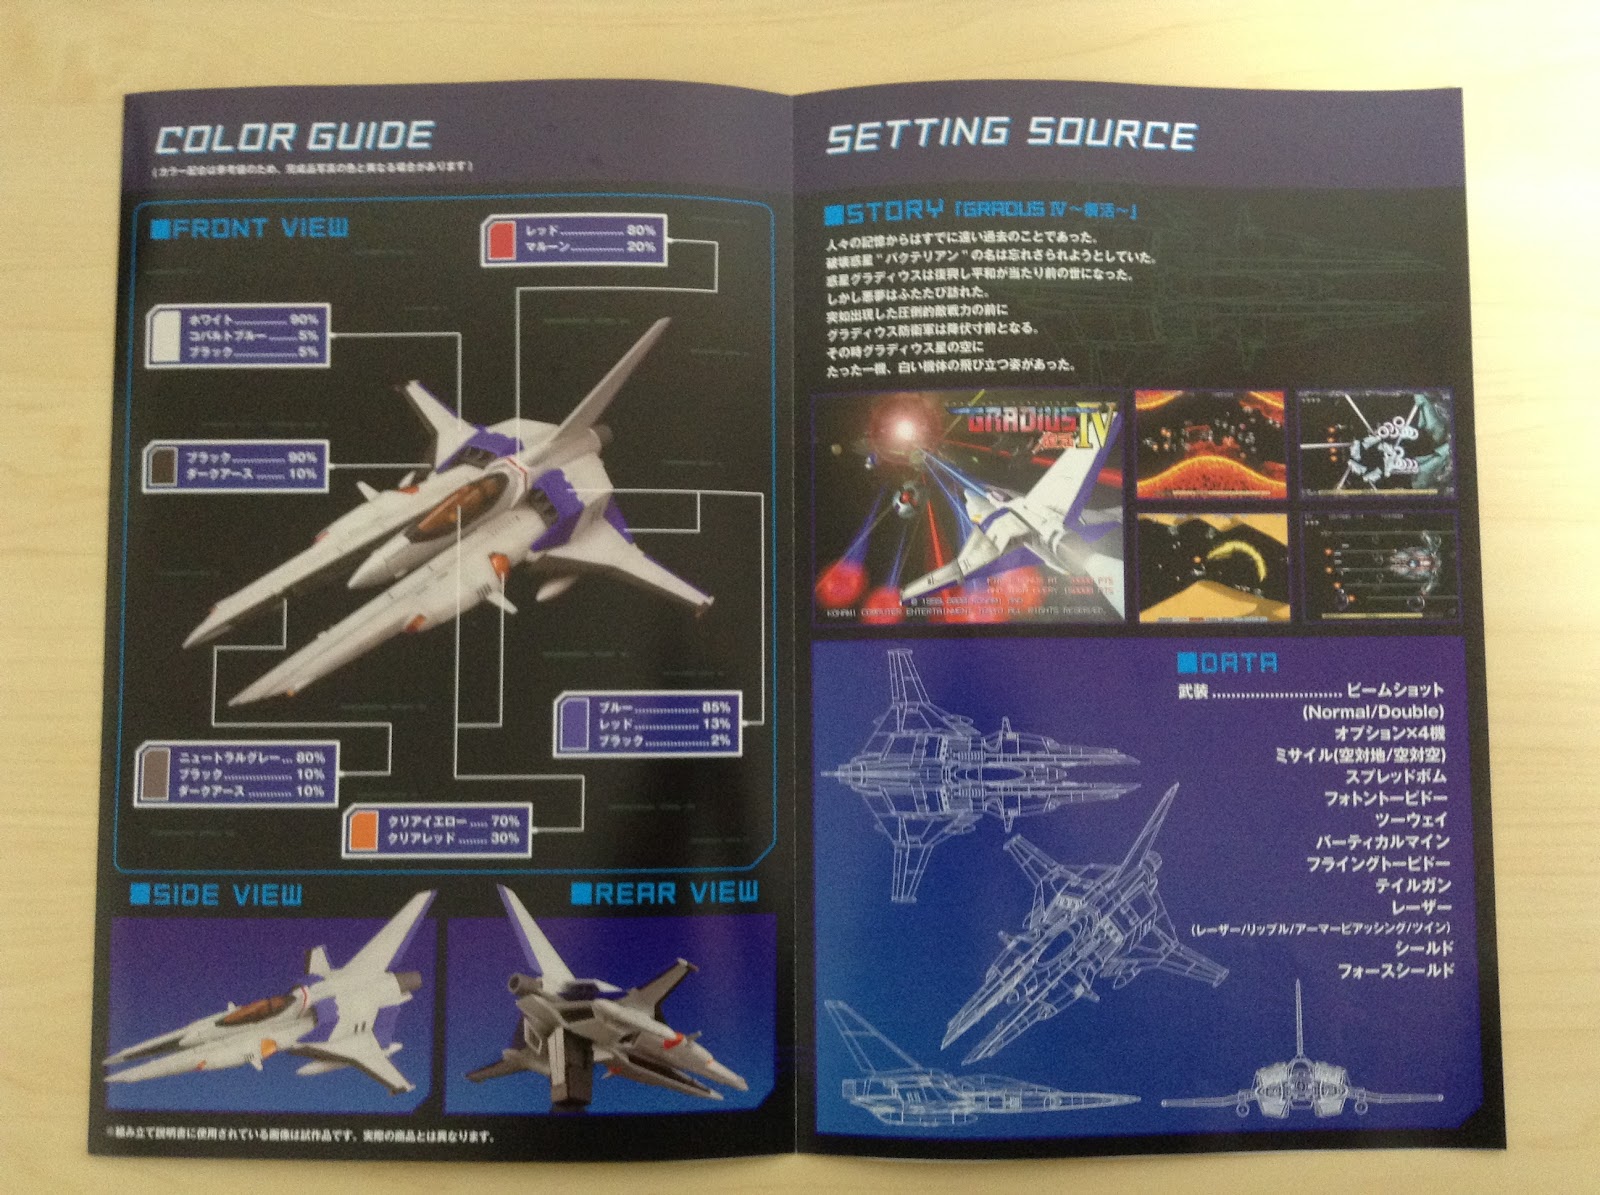
So this kind of all started from a tiny paint nick on the chest of my recently acquired MP-48 Lio Convoy. I read on TFW that Mr Hobby Super Italian Red was a perfect match! So a couple days earlier I had gone and picked that up and it worked a treat! So while in the past I’ve had success with a can of metallic light blue spray paint (lazily purchased to brighten up my MP-10 Optimus Prime’s “dead” eyes), this time I was thinking I could go cheaper and just paint the runners. The shops didn’t have a nice dark blue spray paint anyway, and there were only 7 pieces of blue runner, so it’d be a waste (about as wasteful as spraying Prime’s eyes i guess!). I decided to also grab a smoke grey (there were 2 grey runners of slightly different shade, but I didn’t see why they couldn’t match), and a grey Gundam marker to try my luck with panel lining.
After a quick Matrix-like YouTube session (I’m a modelling expert now btw), I was ready to go! All up the kit took about 6 hours to fully paint, panel line and assemble. That’s including (my guesstimated) drying time. The experience was not without error, although i’m still happy with the results.

As you saw, I picked up Tamiya paint for the blue colour and kind of just assumed it’d work the same as Mr Hobby’s red I’d used previously. Turns out that might have been a mistake of some kind. Maybe because I used a touch of Mr Hobby’s thinner, or perhaps because this paint is more suitable for an airbrush… or maybe it takes longer to dry and I did a 2nd coat too quickly... the application came out worse than the Mr Hobby Smoke Grey. It was surprising, as it went on fine, and the Smoke Grey was the one that looked worse right up until it had dried.
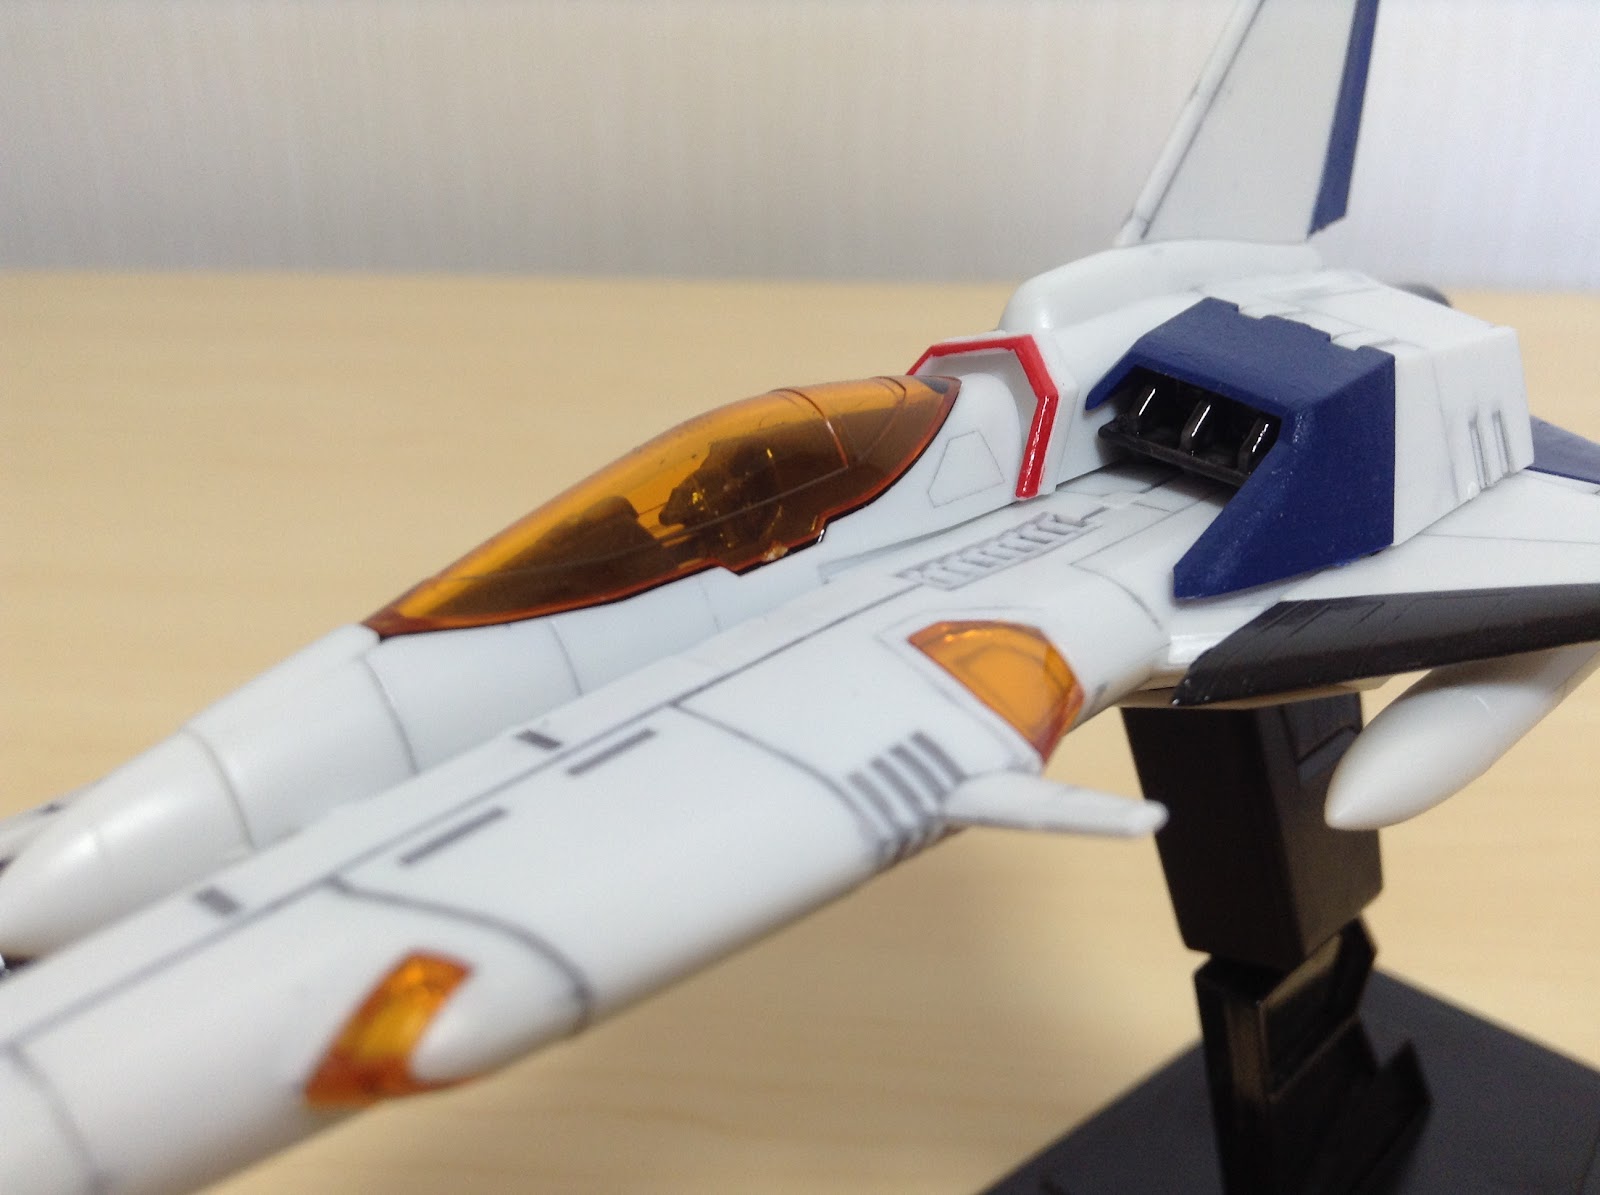
I would guess it also didn’t help that I had to re-apply the blue several times. A couple of pieces on the backs of the wings required glue, and as it turns out, I probably should have glued those pieces before painting them. Since they were so tiny, holding them in place while it stuck together was difficult, and the glue seemed to affect the paint, and some came off on my hands, leaving smudges and fingerprints I had to recover from. For pieces this tiny I would have preferred they be part of the white runner instead, and then just painted them blue afterwards, but I guess they don’t want the kit to need paint, so it’s understandable. Either way, some of these pictures really show up the blue not looking its best, but from most angles in normal light it’s not nearly as noticeably bad. Plus you have to remember, Vic Viper flies through flaming dragons on a daily basis so some degree of paint melting effect is bound to occur, right? On the plus side, the tiny strip of red paint behind the cockpit went on with some flawlessly straight lines!
The panel lining was interesting as well. My YouTube overlords had suggested just scribbling without care then cleaning up the excess, either with a cotton wool bud dipped in paint thinner, or by itself, or with an eraser. The paint thinner absolutely wiped out all traces of panel lining in a short time! I also learned that paint thinner makes cleaning paint brushes exponentially easier at least. The eraser seemed to reach into the panel lines more than you’d imagine (maybe the eraser was too soft?). Just a cotton wool bud seemed to work best although there’s a bit of smudgery going on here and there. Weathering right? :D The panel lines on this kit vary in thickness and some are barely beneath the surface, and so it was difficult to fill them in. The end result is something i’m happy with; it’s not bad but i’m sure a real master modeler might disagree!


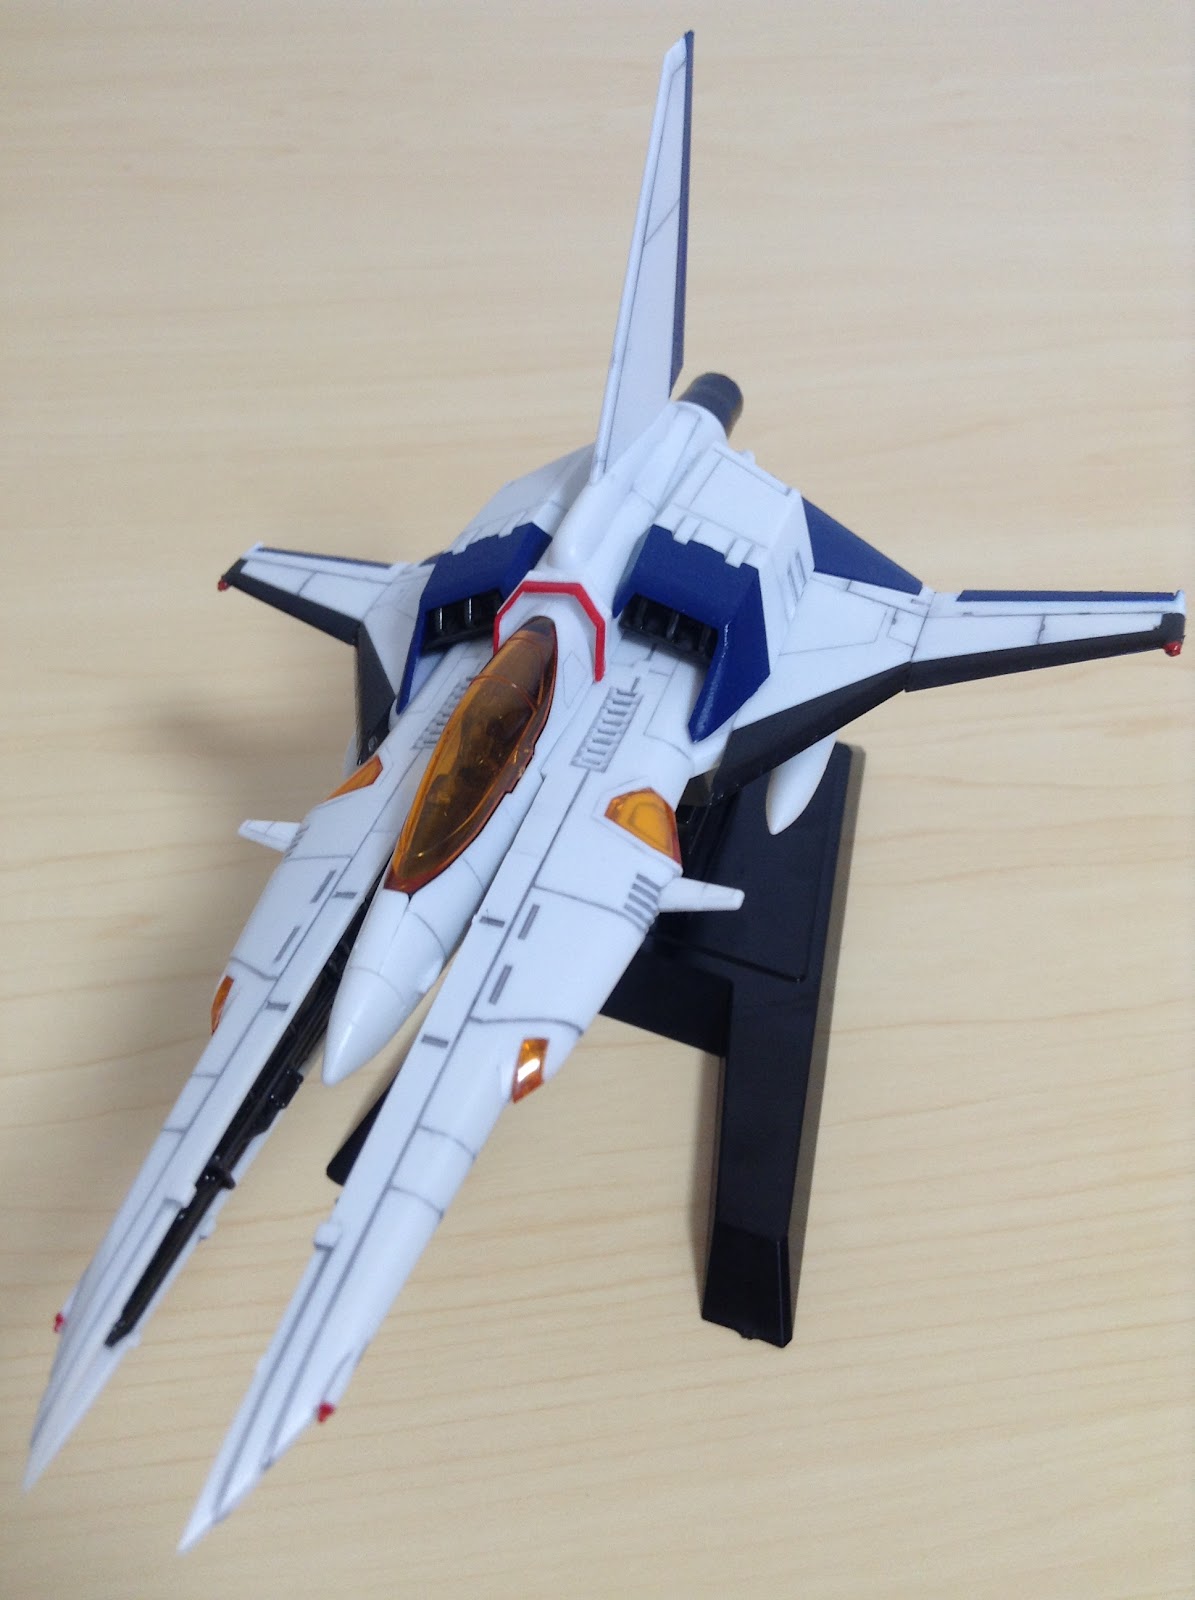
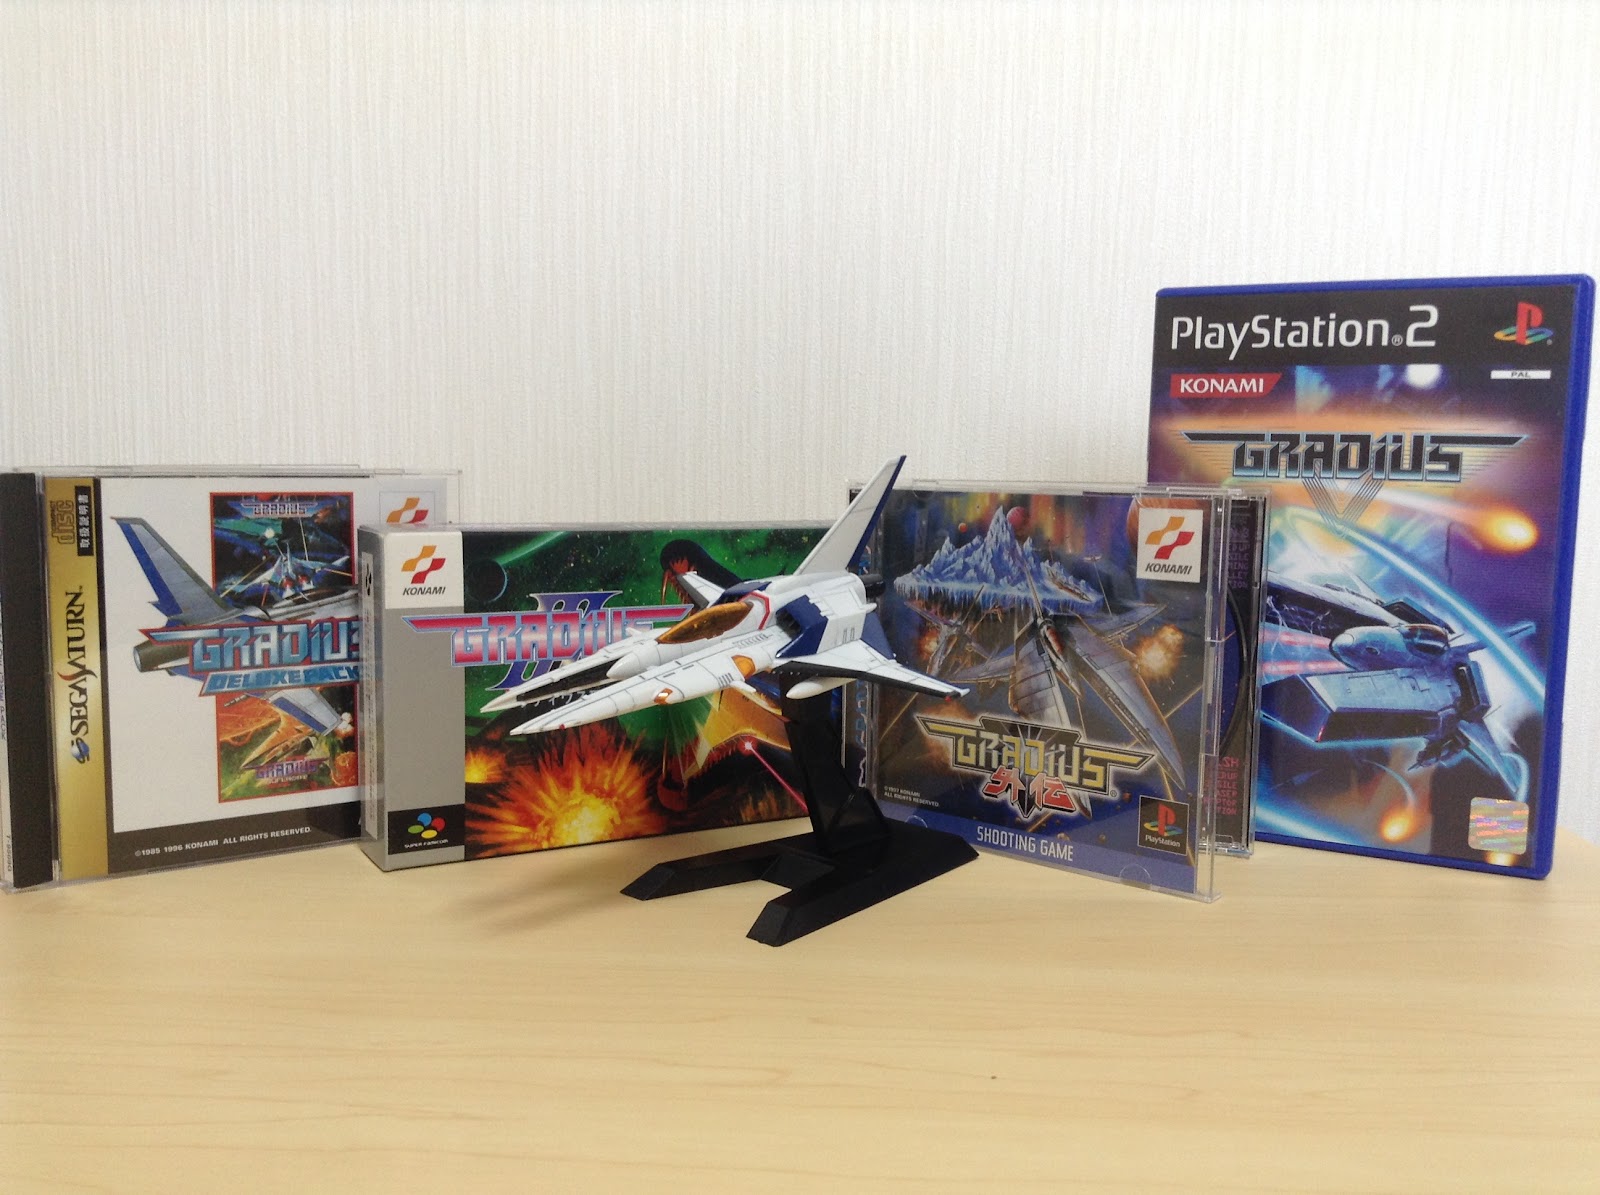
The end result is a pretty spot on rendition of Vic Viper. That’s in no way scientific, just my gut impression. I actually have all the Gradius games except Gradius IV, so I can’t really say for sure! The ship design is pretty similar across the later games in the series, and so it looks right to me.
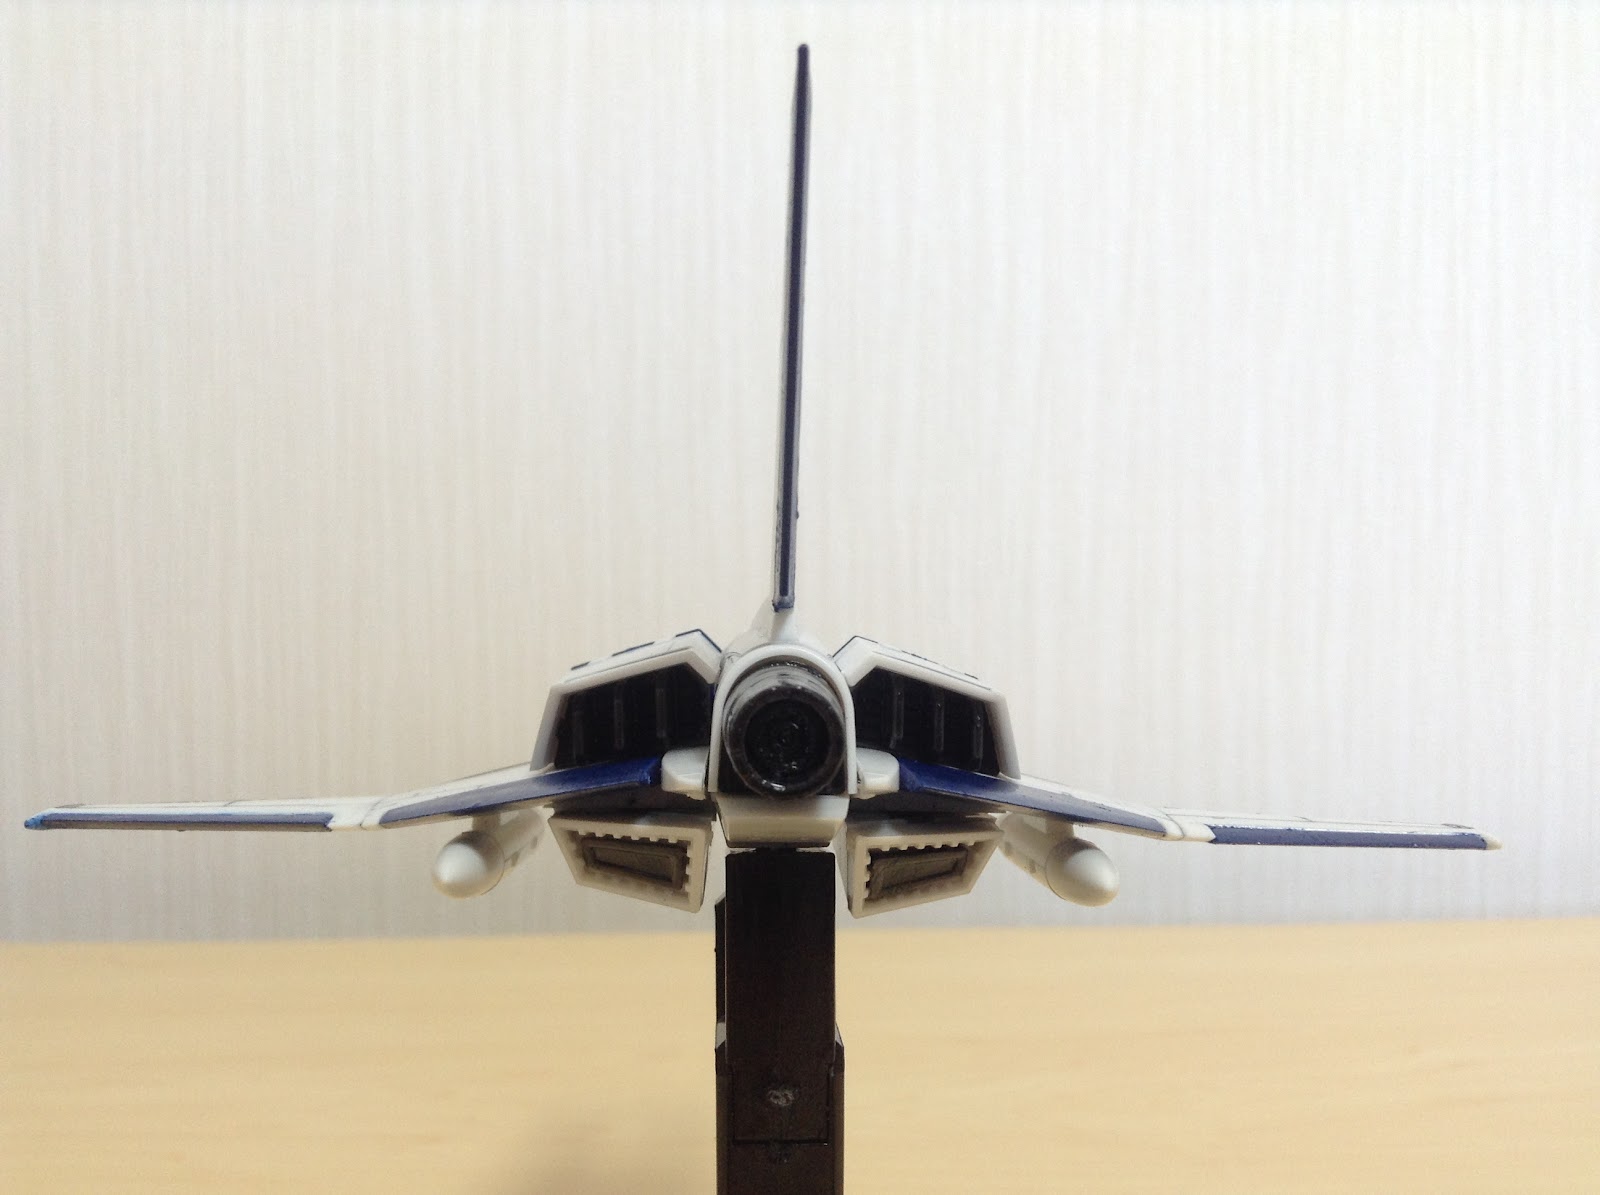
The details are nice - although minuscule, there is a tiny pilot inside the cockpit, and the transparent orange pieces look great. The cockpit doesn’t hinge open, although you can still take it off again to get a better look at the inside. The wings and nose come to nice sharp points. The orange runner also had some 1mm “lights” for the wing tips, but they were frankly so small it was impossible to get them on (especially after i’d already painted the tips grey). I ended up just dabbing the tips with red instead. The engines have layered vents which look really nice in the smoke grey, as it comes off looking very metallic. Although I half botched the blue sections, I’m glad i changed the colour (the runner was a similar, but brighter blue), because the darker blue makes it look more realistic.
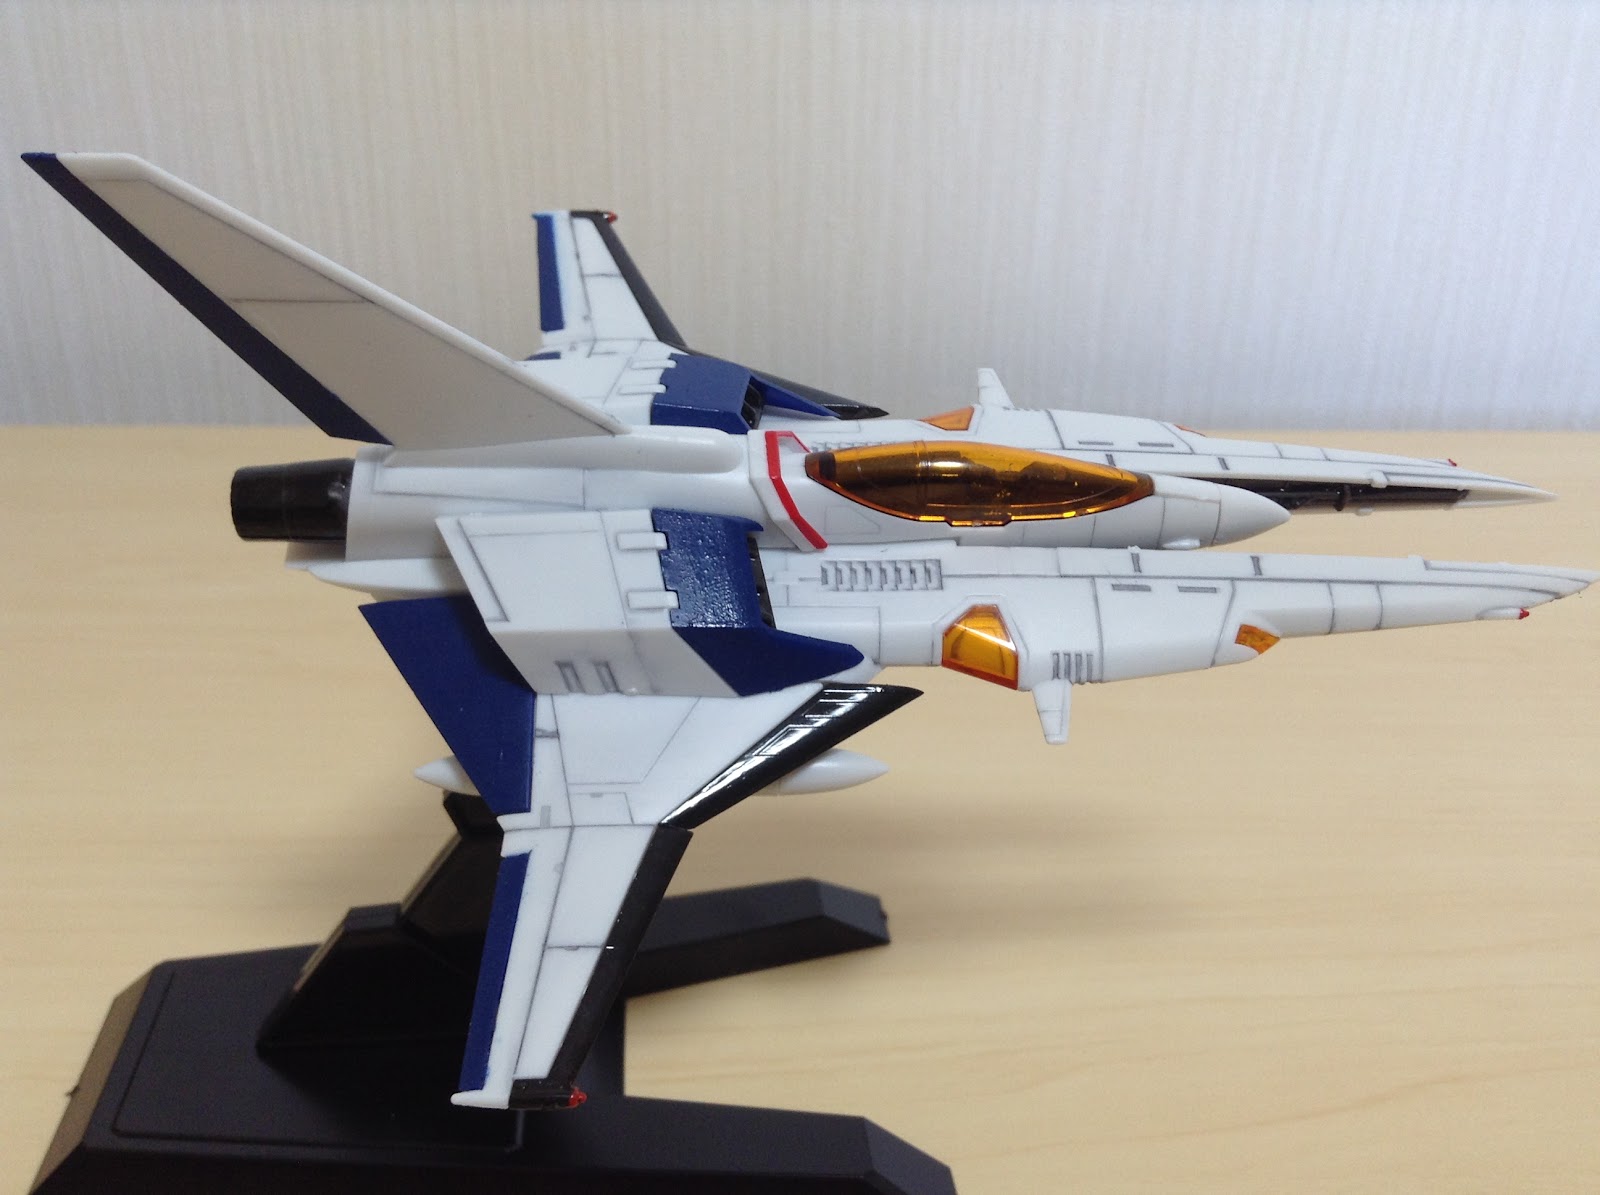
There’s some chunky missiles or bombs of some sort attached to the underside of the wings. They kind of look like the ones in the game? I’m sure it’s accurate to something, they look good regardless. I toyed with painting their tips red as well, but feared I might be going a bit red-happy, so I left them. It doesn’t come with any decals presumably because it’s not supposed to have any. Having said that, I might check out some old Macross “no step” stickers I have lying around and see if they’d look any good here.
From the side profile, it’s very lithe and reminiscent of the tiny pixel ship in the game! It’s about 13cm in length (wingspan about 12cm). It comes with a stand that although attached by ball joint, has a fairly limited range of motion up and down. It can tilt side to side decently enough though, which i used to giddily replicate the ship’s animation from the games! I made sure to get some speed ups before posing.

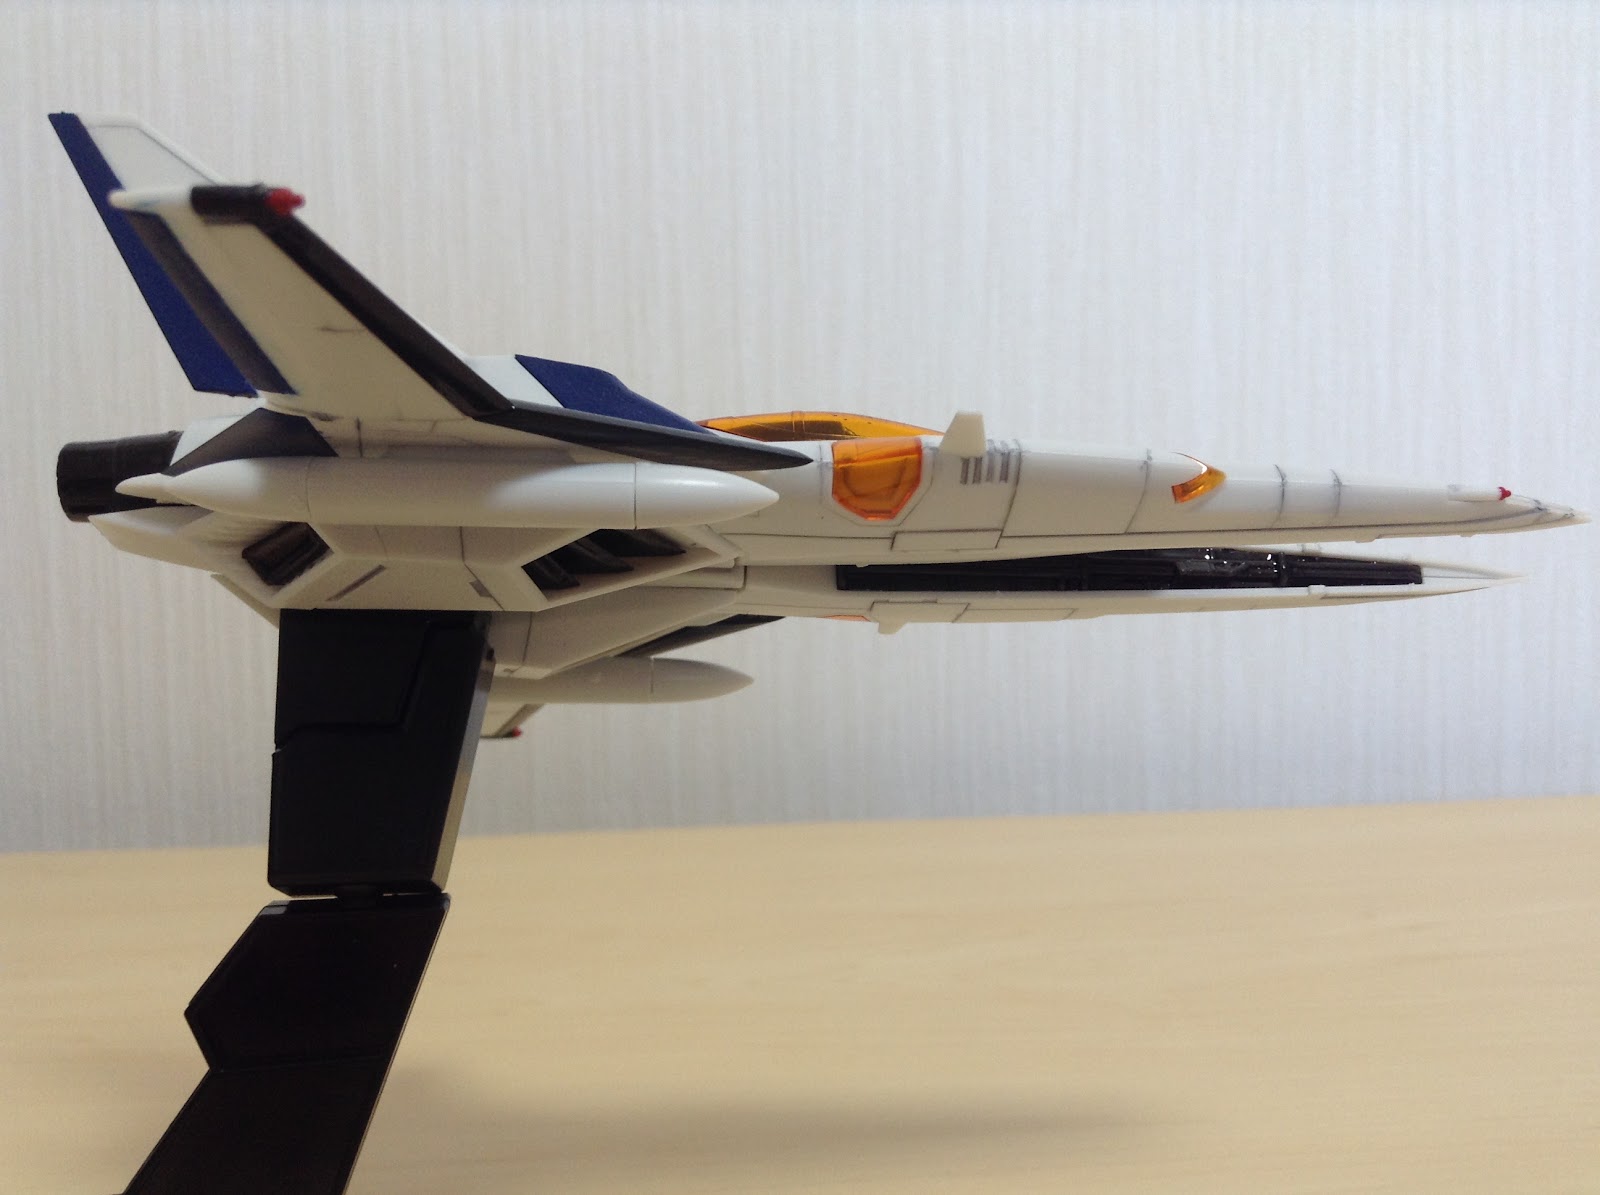
Only one piece was left after the build; a cover for the ship’s underside, for when you don’t have it on the stand. It doesn’t have any landing gear though, so mine will be staying on the stand, and that piece unused. It’s not like Vic Viper can land anyway, damn environmental deaths!

Can’t see blue blotches at hyperspeed anyway!
All up I had a good time building it and i’m pleased that I didn’t botch things beyond repair. I had read before that Plum (being a smaller manufacturer) model kits weren’t quite as high quality as compared to the likes of Bandai, but it all fit together nicely, nothing broke, and so i don’t have any real complaints about quality. Design wise I just would have preferred those blue pieces not require glue, and a smarter way for the transparent orange lights to attach (could have done it like light piping a Transformer!). Still, I’m super happy to have this great representation so I can display it with my games!
No comments:
Post a Comment
Comments under moderation until I find around this spam thing.